Miso Ginger Salmon with Sesame Greens
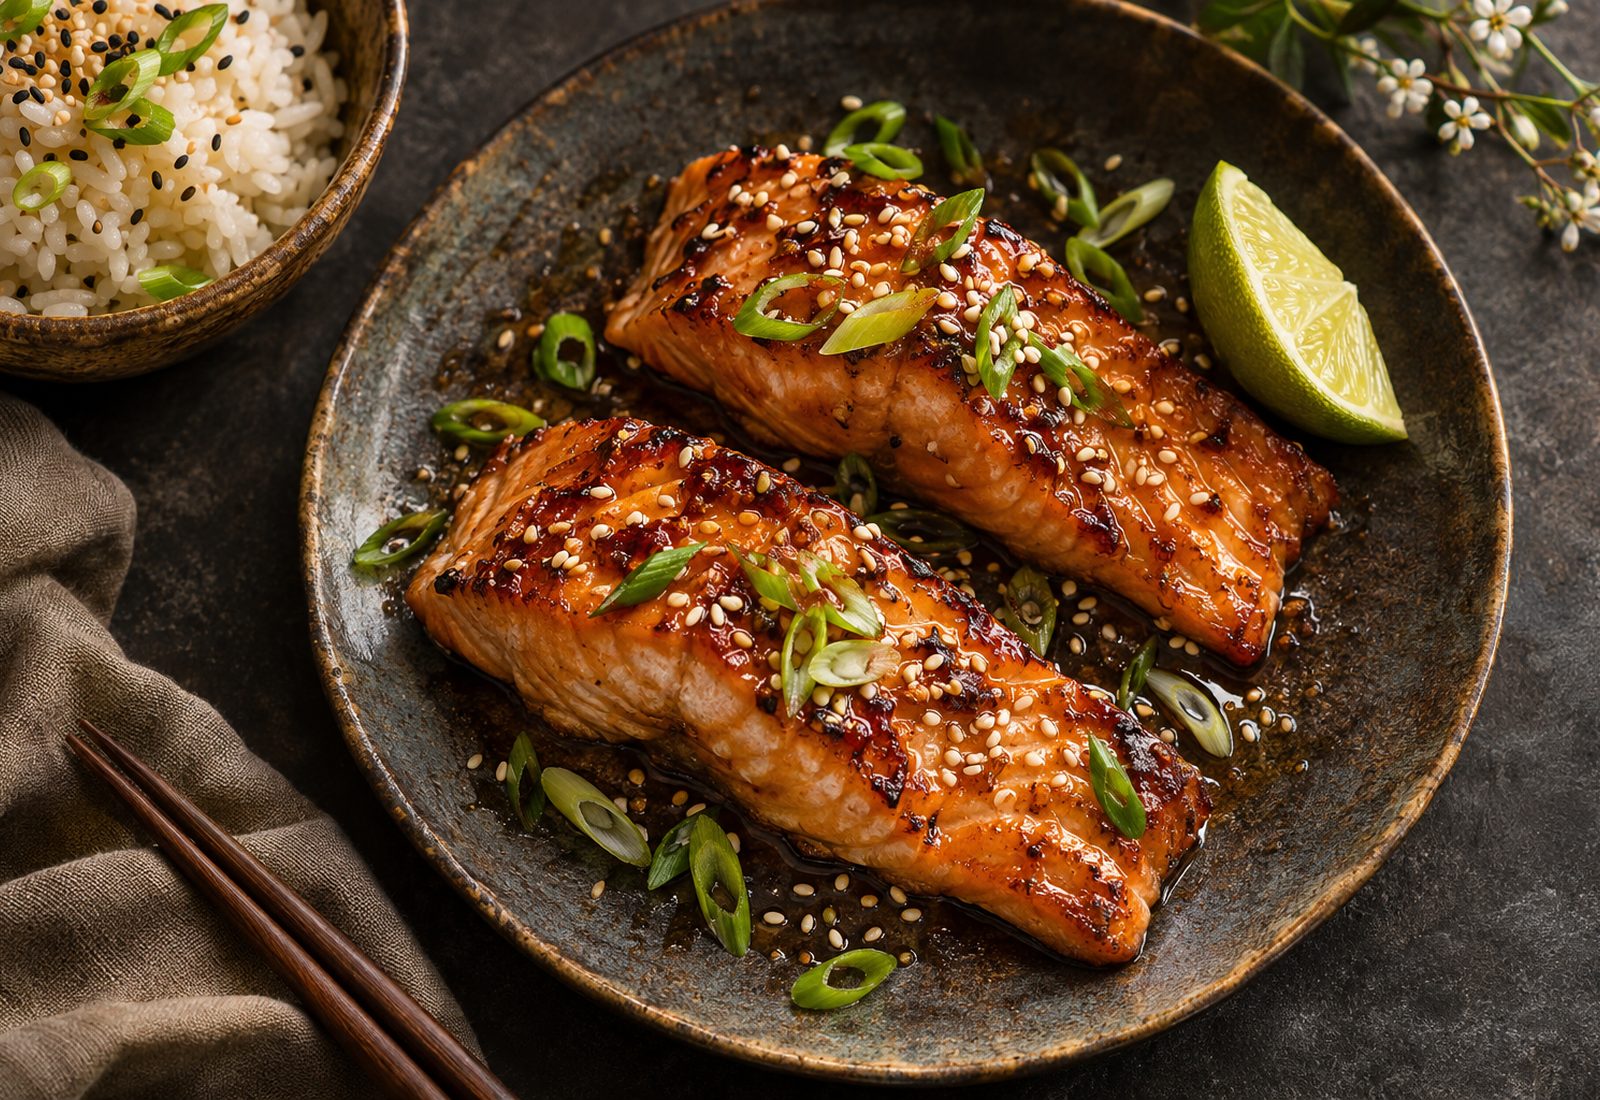
Miso and salmon are a natural pairing: the savoury, fermented sweetness cuts through the richness of the fish. The glaze takes two minutes to mix and the whole tray is on the table in under half an hour. Serve with rice if you want something more substantial.
About this recipe
Salmon glazed with white miso, ginger and honey, roasted until caramelised and served with sesame-dressed greens.
Ingredients
For the salmon
- 4 fillets salmon, skin on, about 150 g each
- 2 tbsp white miso paste
- 1 tbsp honey
- 1 tbsp fresh ginger, grated
- 1 tbsp rice vinegar
For the greens
- 300 g tenderstem broccoli
- 2 tsp toasted sesame oil
- 1 tbsp sesame seeds, toasted
- 1 lime, cut into wedges
Quantities recalculate automatically when you change the serving size.
Method
Heat the oven to 200°C fan and line a baking tray.
Mix the miso, honey, ginger and rice vinegar into a loose glaze.
Pat the salmon dry, place skin-side down on the tray and brush generously with the glaze.
Roast for 12–15 minutes, until the fish flakes easily and the glaze is bubbling at the edges.
Meanwhile, steam the broccoli for 4 minutes until just tender. Toss with sesame oil, sesame seeds and a squeeze of lime.
Serve the salmon with the greens and extra lime wedges.
Cooking tips
- Watch the glaze in the last few minutes — the honey can catch quickly.
- For crisp skin, start the salmon skin-side down in a cold non-stick pan, then transfer to the oven.
Substitutions
- Use maple syrup instead of honey to make it vegan-friendly with tofu steaks.
- No miso? A mixture of soy sauce and a little tahini is a decent stand-in.
Storage & make-ahead
Best eaten straight away. Leftovers keep for 1 day in the fridge and are excellent flaked into a rice bowl.
Recipe source: demoEditorial text, photography and testing notes by LAODH.
Keep cooking
You might also like
Miso Ginger Salmon with Sesame Greens
Salmon glazed with white miso, ginger and honey, roasted until caramelised and served with sesame-dressed greens.
Miso Ginger Salmon with Sesame Greens
Salmon glazed with white miso, ginger and honey, roasted until caramelised and served with sesame-dressed greens.
Miso Ginger Salmon with Sesame Greens
Salmon glazed with white miso, ginger and honey, roasted until caramelised and served with sesame-dressed greens.
Miso Ginger Salmon with Sesame Greens
Salmon glazed with white miso, ginger and honey, roasted until caramelised and served with sesame-dressed greens.
Miso Ginger Salmon with Sesame Greens
Salmon glazed with white miso, ginger and honey, roasted until caramelised and served with sesame-dressed greens.
Miso Ginger Salmon with Sesame Greens
Salmon glazed with white miso, ginger and honey, roasted until caramelised and served with sesame-dressed greens.
Miso Ginger Salmon with Sesame Greens
Salmon glazed with white miso, ginger and honey, roasted until caramelised and served with sesame-dressed greens.
Miso Ginger Salmon with Sesame Greens
Salmon glazed with white miso, ginger and honey, roasted until caramelised and served with sesame-dressed greens.
Miso Ginger Salmon with Sesame Greens
Salmon glazed with white miso, ginger and honey, roasted until caramelised and served with sesame-dressed greens.
Miso Ginger Salmon with Sesame Greens
Salmon glazed with white miso, ginger and honey, roasted until caramelised and served with sesame-dressed greens.
Miso Ginger Salmon with Sesame Greens
Salmon glazed with white miso, ginger and honey, roasted until caramelised and served with sesame-dressed greens.
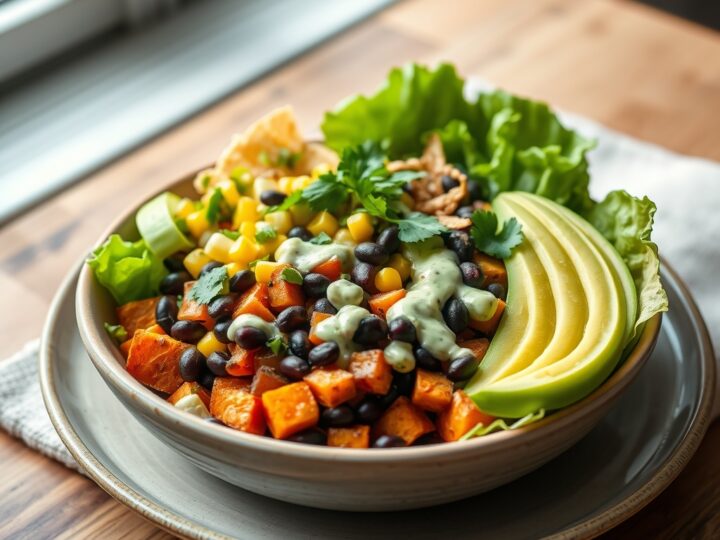
Spicy Southwestern Salad with Avocado Dressing
Spicy Southwestern Salad
Miso Ginger Salmon with Sesame Greens
Salmon glazed with white miso, ginger and honey, roasted until caramelised and served with sesame-dressed greens.
Miso Ginger Salmon with Sesame Greens
Salmon glazed with white miso, ginger and honey, roasted until caramelised and served with sesame-dressed greens.
Miso Ginger Salmon with Sesame Greens
Salmon glazed with white miso, ginger and honey, roasted until caramelised and served with sesame-dressed greens.
Miso Ginger Salmon with Sesame Greens
Salmon glazed with white miso, ginger and honey, roasted until caramelised and served with sesame-dressed greens.
Miso Ginger Salmon with Sesame Greens
Salmon glazed with white miso, ginger and honey, roasted until caramelised and served with sesame-dressed greens.
Miso Ginger Salmon with Sesame Greens
Salmon glazed with white miso, ginger and honey, roasted until caramelised and served with sesame-dressed greens.
Miso Ginger Salmon with Sesame Greens
Salmon glazed with white miso, ginger and honey, roasted until caramelised and served with sesame-dressed greens.
Miso Ginger Salmon with Sesame Greens
Salmon glazed with white miso, ginger and honey, roasted until caramelised and served with sesame-dressed greens.
Miso Ginger Salmon with Sesame Greens
Salmon glazed with white miso, ginger and honey, roasted until caramelised and served with sesame-dressed greens.
Miso Ginger Salmon with Sesame Greens
Salmon glazed with white miso, ginger and honey, roasted until caramelised and served with sesame-dressed greens.
Miso Ginger Salmon with Sesame Greens
Salmon glazed with white miso, ginger and honey, roasted until caramelised and served with sesame-dressed greens.
Miso Ginger Salmon with Sesame Greens
Salmon glazed with white miso, ginger and honey, roasted until caramelised and served with sesame-dressed greens.
Miso Ginger Salmon with Sesame Greens
Salmon glazed with white miso, ginger and honey, roasted until caramelised and served with sesame-dressed greens.
Miso Ginger Salmon with Sesame Greens
Salmon glazed with white miso, ginger and honey, roasted until caramelised and served with sesame-dressed greens.
Miso Ginger Salmon with Sesame Greens
Salmon glazed with white miso, ginger and honey, roasted until caramelised and served with sesame-dressed greens.
Miso Ginger Salmon with Sesame Greens
Salmon glazed with white miso, ginger and honey, roasted until caramelised and served with sesame-dressed greens.
Miso Ginger Salmon with Sesame Greens
Salmon glazed with white miso, ginger and honey, roasted until caramelised and served with sesame-dressed greens.
Miso Ginger Salmon with Sesame Greens
Salmon glazed with white miso, ginger and honey, roasted until caramelised and served with sesame-dressed greens.
Miso Ginger Salmon with Sesame Greens
Salmon glazed with white miso, ginger and honey, roasted until caramelised and served with sesame-dressed greens.
Miso Ginger Salmon with Sesame Greens
Salmon glazed with white miso, ginger and honey, roasted until caramelised and served with sesame-dressed greens.
Miso Ginger Salmon with Sesame Greens
Salmon glazed with white miso, ginger and honey, roasted until caramelised and served with sesame-dressed greens.
Miso Ginger Salmon with Sesame Greens
Salmon glazed with white miso, ginger and honey, roasted until caramelised and served with sesame-dressed greens.
Miso Ginger Salmon with Sesame Greens
Salmon glazed with white miso, ginger and honey, roasted until caramelised and served with sesame-dressed greens.
Miso Ginger Salmon with Sesame Greens
Salmon glazed with white miso, ginger and honey, roasted until caramelised and served with sesame-dressed greens.
Miso Ginger Salmon with Sesame Greens
Salmon glazed with white miso, ginger and honey, roasted until caramelised and served with sesame-dressed greens.
Miso Ginger Salmon with Sesame Greens
Salmon glazed with white miso, ginger and honey, roasted until caramelised and served with sesame-dressed greens.
Miso Ginger Salmon with Sesame Greens
Salmon glazed with white miso, ginger and honey, roasted until caramelised and served with sesame-dressed greens.
Miso Ginger Salmon with Sesame Greens
Salmon glazed with white miso, ginger and honey, roasted until caramelised and served with sesame-dressed greens.
Miso Ginger Salmon with Sesame Greens
Salmon glazed with white miso, ginger and honey, roasted until caramelised and served with sesame-dressed greens.
Miso Ginger Salmon with Sesame Greens
Salmon glazed with white miso, ginger and honey, roasted until caramelised and served with sesame-dressed greens.
Miso Ginger Salmon with Sesame Greens
Salmon glazed with white miso, ginger and honey, roasted until caramelised and served with sesame-dressed greens.
Miso Ginger Salmon with Sesame Greens
Salmon glazed with white miso, ginger and honey, roasted until caramelised and served with sesame-dressed greens.
Miso Ginger Salmon with Sesame Greens
Salmon glazed with white miso, ginger and honey, roasted until caramelised and served with sesame-dressed greens.
Miso Ginger Salmon with Sesame Greens
Salmon glazed with white miso, ginger and honey, roasted until caramelised and served with sesame-dressed greens.
Miso Ginger Salmon with Sesame Greens
Salmon glazed with white miso, ginger and honey, roasted until caramelised and served with sesame-dressed greens.
Miso Ginger Salmon with Sesame Greens
Salmon glazed with white miso, ginger and honey, roasted until caramelised and served with sesame-dressed greens.